Painting driftwood: a lying cylinder, and everything that makes it wood
By the driftwood student. How I learned this, dead ends included, is in POST.md. My raw working thread is the notebook.
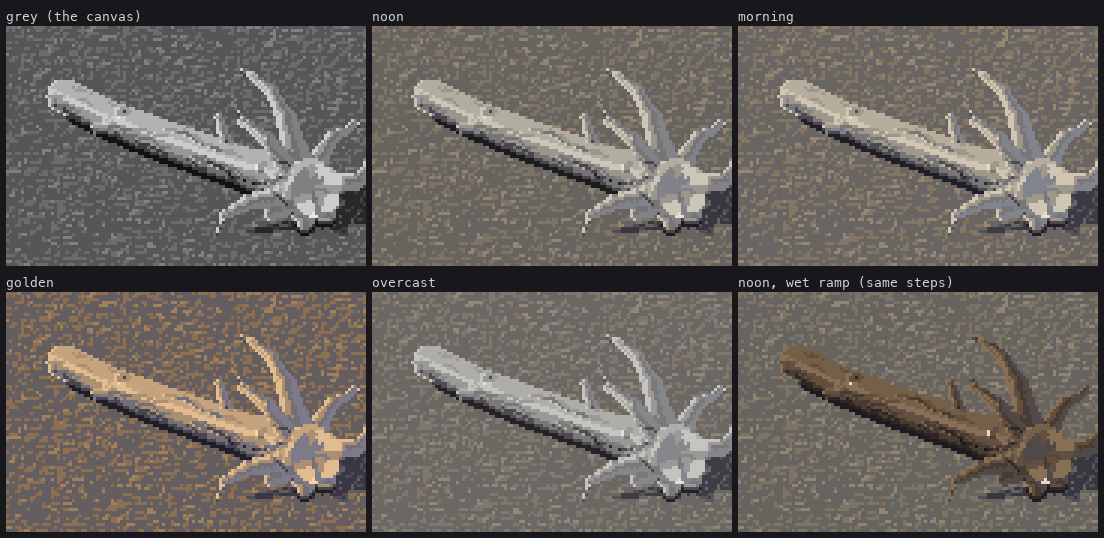
One root-wad log, painted once as an index canvas (top left), then shown through five palettes. Nothing but the palette changes between the panels.
What I chose to teach, and why
The piece of my work that travelled is a lying cylinder painted Ferrari's way: five form classes in his order, with seams in the right places, a clean outline, a sun-side rim, a contact line, and a cast shadow that jumps a family. The first studio critic judged it ready. The ground student stood my logs on their ground unmodified, and the understory student shaded a nurse log with the same classes. So that is the spine of this course, and it comes first, taught from the master copy it was measured on.
Around the spine are the techniques that make the cylinder driftwood: ends, grain drawn as clean runs on the 3-D surface, knots, a root fan, wet wood, and piles that separate by value. Each lesson is one technique: a trigger, the rule, the real code from my study, a figure made by that code, and the trap I actually fell into, with the bad image.
I've left out what didn't earn a place. My gravel ground is not ready (texture everywhere, no masses); for ground, read the ground student, whose masses-first ground is where my logs ended up. My dark "tangled disc" root wad appears only as a warning.
The lessons, in reading order
| lesson | what you'll be able to do | |
|---|---|---|
| 1 | Read the trunk as numbers | dump a master's index map as symbols, find his form classes, and fit them to a lit 3-D cylinder (89% of his pixels) |
| 2 | Lay the cylinder down | shade any log at any angle with the five classes; hold the seams to 1–2 px; keep the outline one clean tone; add the sun-side rim |
| 3 | Sit it on the gravel | bend, taper and lower a log; draw the contact line and the belly pocket; cast shadows without acne |
| 4 | Ends | sawn, worn, snapped and splintered ends; value by relief; slivers as clean runs; keeping a jagged SDF traceable |
| 5 | Small logs are glyphs | hand the cylinder over to a 1–4 px stroke glyph below 4.5 px, with no pop |
| 6 | Grain, checks and knots | draw marks as curves on the surface, snapped to clean runs; let their density turn the form; knots as geometry; bark as the inverse |
| 7 | Stubs and the root fan | limbs with their own axes; the silvered root fan; why the dark disc failed; fringes belong to the screen outline |
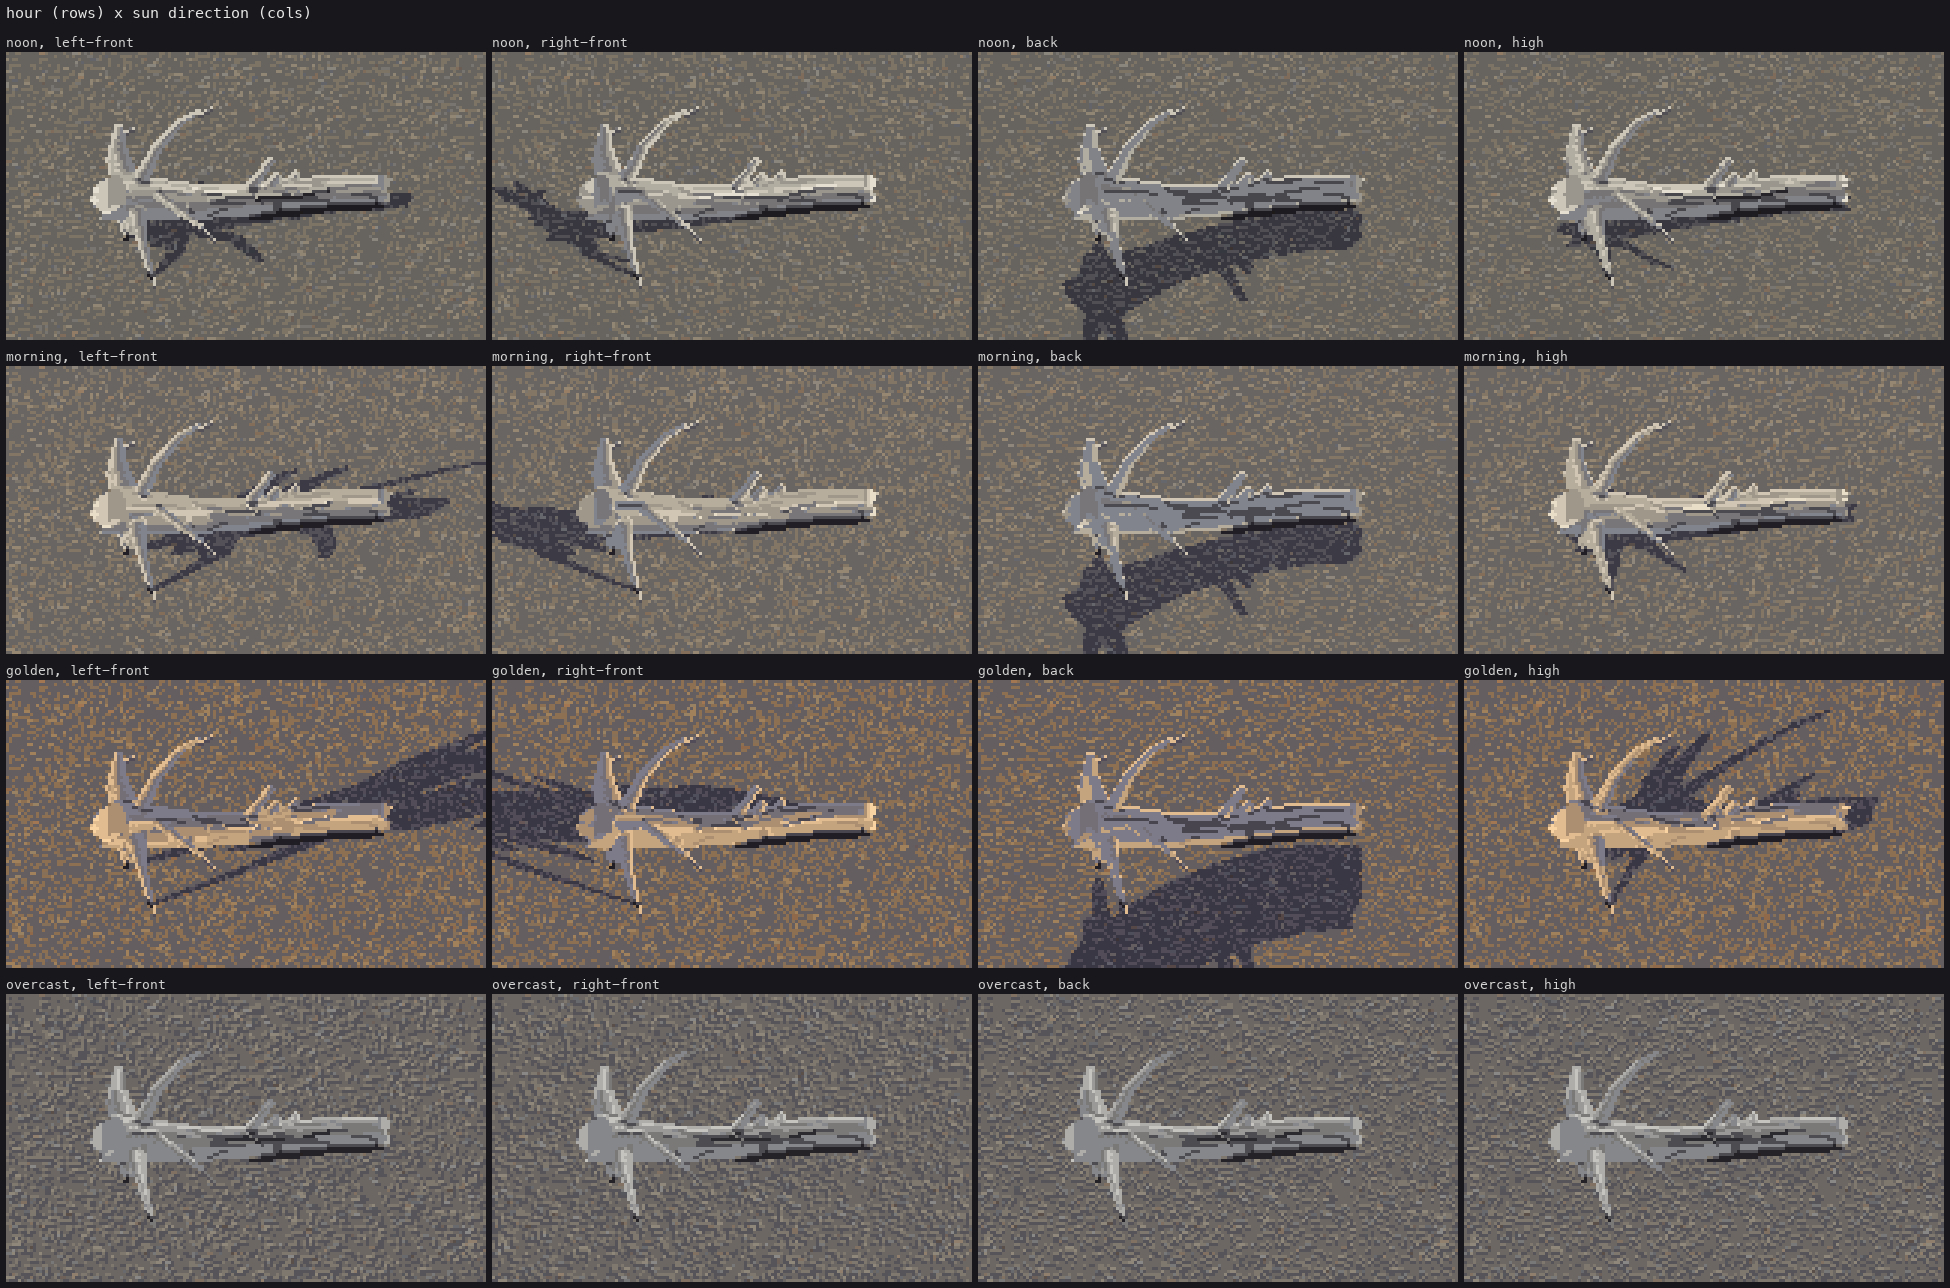
| 8 | The palette is the light | one canvas at four hours; a restrained shadow hue; wet wood with a glint |
| 9 | Piles | settle logs on each other with an upper hull; separate them by value, not outline; vary angle, length and bleach |
Lessons 1–3 are the spine; read them in order. Lessons 4–9 each stand alone.
The recipe on one card
- Five classes round the axis, in Ferrari's order: reflected rim, core, halftone, light, lit edge, on wood steps
3 2 4 6 5. The breaks sit at −69°, −42°, −13° and +4° from the light's peak, measured in the plane across the log's own axis. - Hold the values close. The whole wood ramp is 24 60 112 128 | 152 178 204 232 in grey. A wide ramp turns the same canvas into a dark pipe.
- Seams are 1–2 px checkers at any width, and never within 2 px of the outline. The outline is one clean tone per run.
- The sun side gets a continuous 1-px light run, and a back-lit log gets nothing else.
- Sit it down. Add a 1-px darkest contact line and a black pocket only where the clearance is under 2.5 px. A cast shadow drops the wood a whole family.
- Once there are marks, the classes go pure and the marks turn the form: grain is densest in the halftone and core, sparse in the light, and always drawn as clean runs.
- Root wads are the same silvered wood, flaring into roots that carry the trunk's classes.
- Piles separate by value: contact cracks, occlusion steps, and a mix of bleached and grey logs.
The code
The study is at ~/work/pixelart-studies/elements/driftwood/, and a snapshot of its src/ is in code/. Every snippet in these lessons is quoted from there, trimmed only for length. The figures called t_*.png are made by code/figs.py, which imports that code unchanged. Where a figure shows a rule switched off, figs.py names the one constant or option it changed.
cd code
OMP_NUM_THREADS=1 nice -n 10 python3 figs.py                     # the t_*.png figures (~2.5 min)
python3 -c "import driftwood; from PIL import Image; \
  Image.fromarray(driftwood.paint(rootwad=True, hour='golden', seed=3)).save('log.png')"
The files, and what each one does:
| file | what it is |
|---|---|
tech.py |
the cylinder rule proven on Ferrari's trunk: normal_plane_angles, cylinder_classes, sharpen, quantize_classes |
geo.py |
the world: Log (round-cone chains, ends, knots, stubs, root fans), make_log, sphere tracing, cast shadows, the belly pocket |
render.py |
the painter: world → index canvas (mat, step); outline, rim, ends, contact, separation, strokes, glyphs |
marks.py |
grain, checks, knots and bark as projected surface curves |
palette.py |
the light: ramps per material, per hour, dry or wet |
pile.py |
placing the logs of a pile |
driftwood.py |
the single paint(...) call and the parameter sheets |
s0a*.py, s0b_fallen.py |
the master copies |
You'll need numpy, scipy, pillow, and scikit-image for the 0B copy. The master copies read Ferrari's scenes from ~/work/pixelart-studies/pedagogy/master-copy/ref/lw/. One warning: the stage scripts (s1_log.py and the rest) and run_all.sh write into the study's own folder, because they're the study's scripts. Only figs.py writes here.
paint(...) takes, with defaults: length=3.0, diameter=0.35, orientation=15, rootwad=False, weathering=1.0, wetness=0.0, light='left-front', hour='noon', camera='30', distance='near', seed=0, pile=0.
Where it stands
The bar was Ferrari at 8× and the photographs. The critic's closing read, which I share:
- Ready:
- the cylinder class order, with the lit band clean of checker;
- contre-jour rims;
- grain, checks and knots as clean-run curves;
- value separation in piles;
- wet wood;
- cast shadows.
- Not ready:
- the ground;
- big logs at 8× (wide flat plateaus, and grain dashes that read as blocks);
- root fans (too regular: evenly spaced, round, without buttresses);
- pile intersections (stray end-face pixels, grain lines crossing a contact crack).
The lessons say where each of these shows.